10.7. Installer Front-EndsThe PEAR Installer provides a front-end (user interface) API that is used to implement different types of user interfaces. 10.7.1. CLI (Command Line Interface) InstallerThe PEAR Command Line Interface installer runs in a terminal shell with human-readable text output. You have seen examples for this front-end from in the previous sections. 10.7.2. Gtk InstallerEarlier, you learned that the PEAR Installer separated the user interface code into "front-ends." So far, this chapter has presented only the CLI front-end; in this section, you glance at the Gtk (GNOME) front-end. Gtk is a graphical user interface toolkit that is common among Linux users. A Windows port exists as well, but this section focuses on the UNIX/Linux environment. The PEAR Gtk front-end requires that you have php-gtk installed. For help installing php-gtk, refer to http://gtk.php.net/. After you set up php-gtk, install the PEAR_Frontend_Gtk package:
$ pear install PEAR_Frontend_Gtk
     downloading PEAR_Frontend_Gtk-0.3.tgz ...
...done: 70,008 bytes
install ok: PEAR_Frontend_Gtk 0.3
10.7.2.1 Using the Gtk InstallerNow, fire up the Gtk installer with this command:
$ pear G
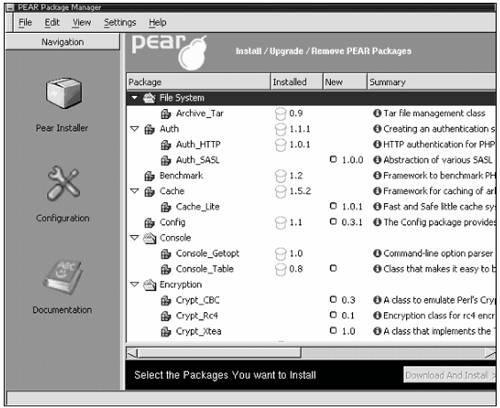
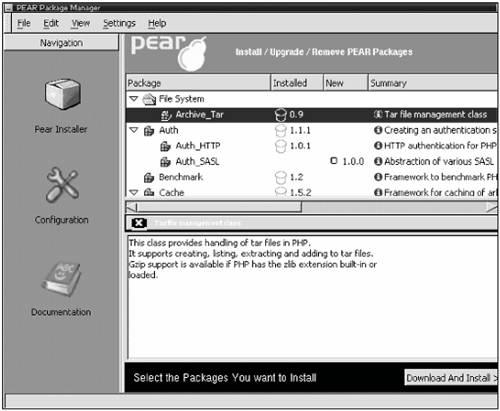
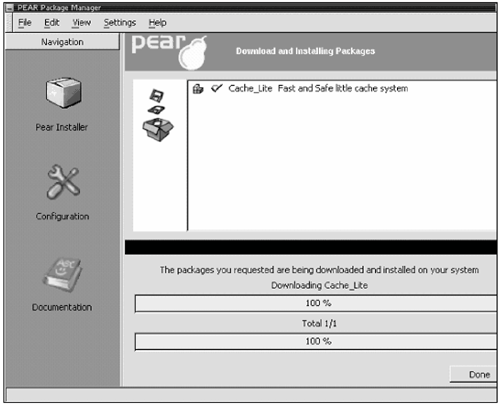
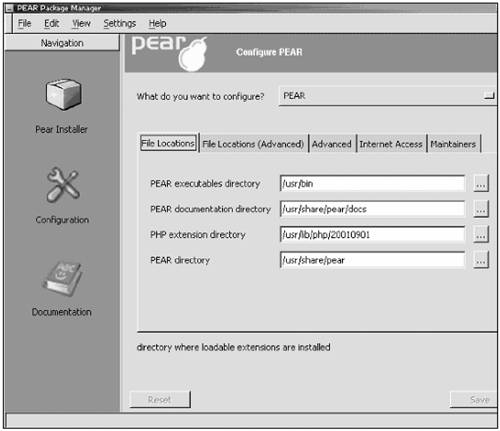
The result should look like what is shown in Figure 10.3. Figure 10.3. PEAR Gtk Installer Startup Screen. On the left-hand side, you can navigate between the different parts of the installer. The one that is currently being displayed is the PEAR Installer. The package list pane to the right has four columns: Package, Installed, New, and Summary. This is similar to the output of the pear list-all command, with the addition of the Summary field. Also, notice how packages are grouped into category folders that you may collapse and expand. The Installed column says which version of the package you have already installed. If it is not installed, this field will be blank for that package. If you have it installed, an outline of a trashcan appears that you can click on to schedule an uninstall, and the version of the release you have. The New field is filled if a newer release is available or you don't have the package, along with a checkbox that you can click to schedule the package for install or upgrade. But first, try clicking the Summary field for a package shown in Figure 10.4. Figure 10.4. Summary field for package. This splits the package area in two and displays some information about the package you just selected. Click the X to make it go away. Now, let's install Cache_Lite by clicking the checkbox next to the version number in the New column, and then click Download and Install > > in the lower-right corner, as shown in Figure 10.5. Figure 10.5. Cache_Lite package installed. That's all there is to it. It is worth noting that the Gtk front-end to the PEAR Installer uses the same code to perform installation and so on; it just provides another user interface. Let's take a look at the Configuration part (click Configuration in the Navigation sidebar), as shown in Figure 10.6. Figure 10.6. Configuring PEAR. Just flip through the different configuration category tabs and take a look; the configuration parameters you see listed here are exactly the same ones that you learned about in the CLI version of the installer, just presented in a nicer way. |


